CI/CD for Solo Developers: GitHub Actions Without the Complexity
CI/CD, continuous integration and continuous deployment, gets discussed mostly in the context of large engineering teams. Automated test suites, deployment pipelines, staging environments, rollback procedures. It sounds like infrastructure that only makes sense when you have a team to justify the setup cost.
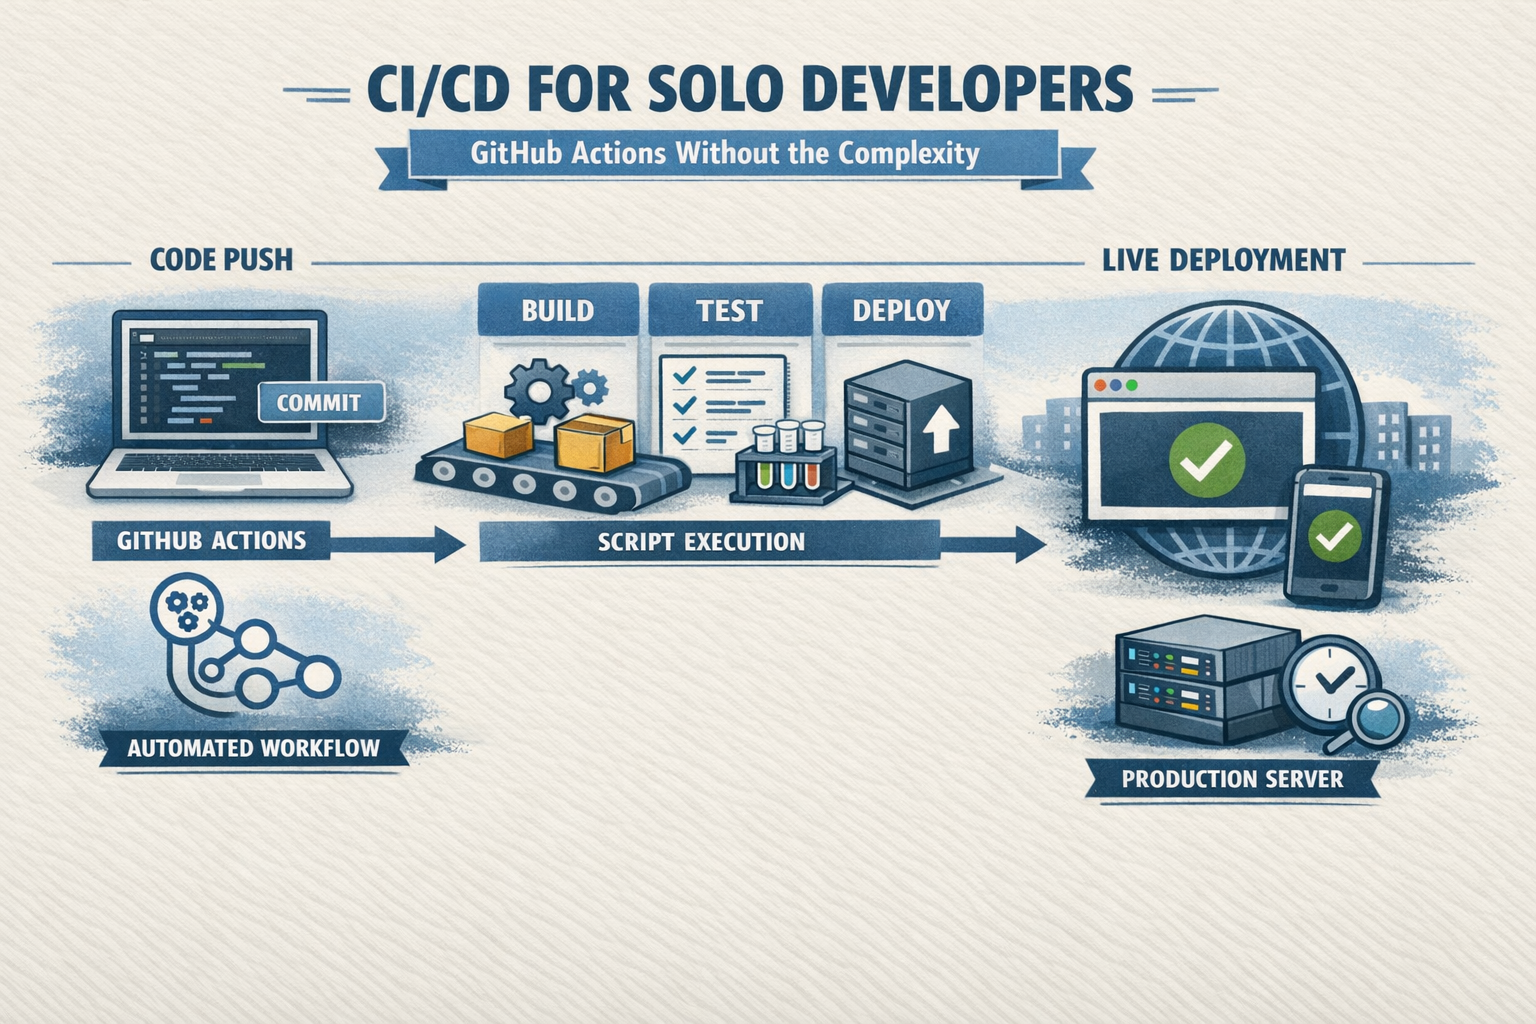
It doesn't. As a solo developer for my personal website, I use a CI/CD pipeline and it's incredibly valuable. Every push to main on heathschweitzer.com deploys automatically to production in about 40 seconds. No manual SSH, no FTP, no "remember to run the build before you deploy." My CI/CD pipeline does the work for me.
Here's how I built it and what I'd do differently.
The Problem It Solves
Before CI/CD, deploying a change meant something like:
- SSH into the server
- Pull the latest code
- Run
npm installif dependencies changed - Run
prisma migrate deploy - Run
npm run build - Restart the process
- Check the site to make sure it came up
That's not terrible, but it has problems. It's manual, which means it's skippable — I can convince myself a small change doesn't need a full build cycle. It creates a window where the site is in an inconsistent state between the code pull and the build completing. And it requires me to remember every step every time.
CI/CD automates all of that and removes the decision from my hands. I push code, the deployment happens, and I get feedback if something goes wrong.
GitHub Actions: The Right Tool for Solo Projects
There are purpose-built CI/CD platforms — CircleCI, Jenkins, GitLab CI, Buildkite. For a solo project already on GitHub, none of them beat GitHub Actions for simplicity. It's free for public repositories and generous for private ones, it's already where my code lives, and the YAML syntax is approachable.
My entire deployment workflow is 15 lines:
name: Deploy to Production

on:
  push:
    branches:
      - main

jobs:
  deploy:
    runs-on: ubuntu-latest
    steps:
      - name: Deploy to server
        uses: appleboy/[email protected]
        with:
          host: ${{ secrets.SSH_HOST }}
          username: ${{ secrets.SSH_USER }}
          key: ${{ secrets.SSH_PRIVATE_KEY }}
          script: ~/deploy.sh
GitHub Actions SSHes into my server and runs a deploy script. That's it. The deploy script does the actual work — git pull, npm install, prisma migrate deploy, npm build, pm2 restart — but the trigger and the SSH connection are handled by GitHub.
The Deploy Script
The deploy script lives in the repository at scripts/deploy.sh, which means it's version-controlled alongside the application code. Changes to the deployment process are tracked in git history.
One key addition beyond a naive deploy is maintenance mode. Before the build starts, the script creates a flag file that Nginx detects and uses to serve a static maintenance page instead of proxying to the Node.js process. After PM2 restarts with the new build, the flag is removed. Users see a brief maintenance message rather than a 502 error during the ~10 seconds between the restart and the process being ready.
#!/bin/bash
set -e

cd /path/to/home/of/heathschweitzer.com

git pull origin main
npm install --production=false
npx prisma migrate deploy
npm run build

touch /path/to/home/of/heathschweitzer.com/maintenance.flag
pm2 restart heathschweitzer.com --update-env
sleep 3
rm -f /path/to/home/of/heathschweitzer.com/maintenance.flag
The set -e at the top means the script exits immediately if any command fails — a failed build won't restart PM2 with broken code.
Setting Up the SSH Key
The GitHub Actions workflow SSHes into the server using a dedicated deploy key — a separate SSH key pair created specifically for this purpose, not your personal key.
ssh-keygen -t ed25519 -C "github-actions-deploy" -f ~/.ssh/github_deploy -N ""
cat ~/.ssh/github_deploy.pub >> ~/.ssh/authorized_keys
The private key goes into GitHub as a repository secret (SSH_PRIVATE_KEY). The public key goes into authorized_keys on the server. GitHub Actions uses the private key to authenticate, the server verifies it against the stored public key.
Note: when adding the private key to GitHub secrets, don't wrap it in quotes. The quotes become part of the value and the authentication fails. The key should go in raw, exactly as it appears in the file.
What "Continuous Integration" Actually Means for Solo Work
Strictly speaking, what I have is continuous deployment, not full CI/CD. Continuous integration means automatically running tests on every push to catch regressions before they merge. I don't have automated tests on this project — it's a personal site and the investment hasn't felt justified, yet.
If I were building something with real users depending on uptime, I'd add at minimum:
- A TypeScript type check step before deploying (
tsc --noEmit) - A lint check (
eslint) - One or two Playwright end-to-end tests for the critical paths (login, post creation, blog index rendering)
Failing any of those would abort the deployment before it touches the server. Right now a TypeScript error in my code would only be caught when the build fails on the server — which still works (the set -e prevents a broken deploy), but catching it in the GitHub Actions runner before SSH is faster and cleaner.
The 40-Second Deploy
The current pipeline takes about 40 seconds end to end. The breakdown:
- SSH connection and git pull: ~5 seconds
- npm install (cached, no changes): ~3 seconds
- prisma migrate deploy: ~2 seconds
- npm run build (Next.js compilation): ~25 seconds
- pm2 restart + maintenance flag: ~5 seconds
The build step dominates and always will — Next.js compilation is CPU-bound. There's room to speed it up with build caching, but at 40 seconds it doesn't feel worth the complexity at this point.
For a solo developer, a push-to-deploy pipeline that takes 40 seconds and requires zero manual intervention is genuinely liberating. I push code and move on. The deployment handles itself.
Tagged
If this post was useful, consider buying me a coffee ☕ with ₿itcoin — no account needed, any amount welcome.